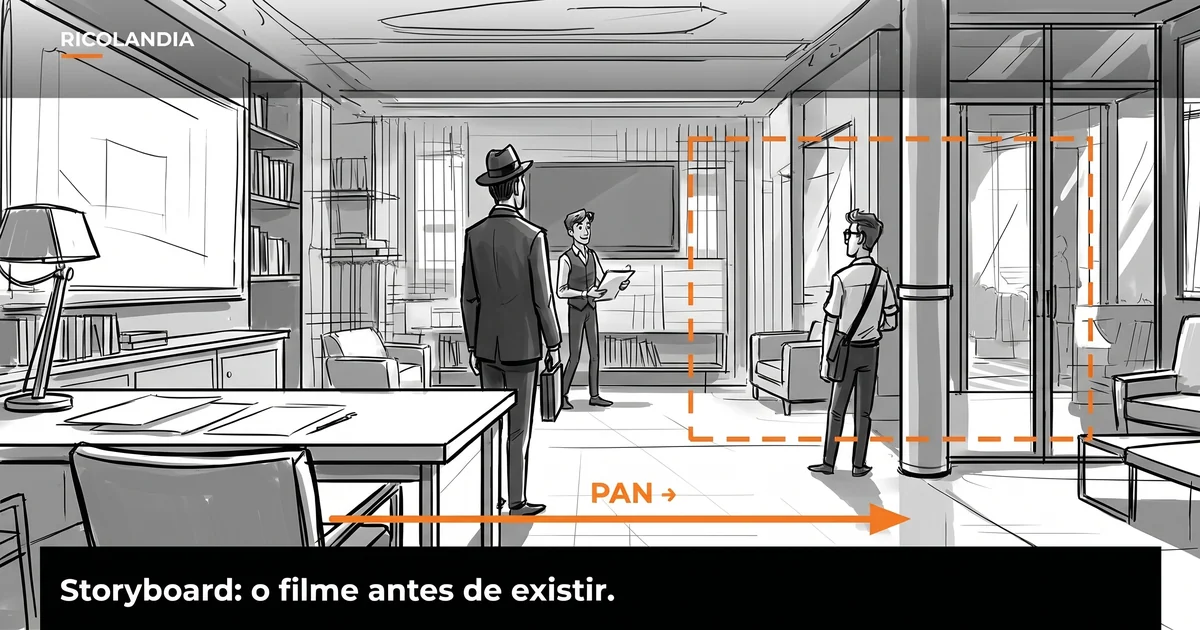
Before I animate, I need to see the film. Not frame by frame on paper, but in time: how long each shot lasts, when the sound comes in, where the cut lands. That’s what an animatic does.
What an animatic is
An animatic is the filmed version of the storyboard. The frames become shots with duration, go into the editor, get temporary sound, and start to exist as a film. The drawing stays simple, sometimes ten lines. What’s being tested isn’t the art. It’s the story.
It’s often confused with the storyboard. The storyboard decides what the camera sees at each moment. The animatic decides how long each moment lasts and how one shot talks to the next. One is the map. The other is the route.
Why it matters
It shows you what doesn’t work before it gets expensive.
A shot that looked fast on paper drags on screen. A joke that worked in a frame dies with two extra seconds. A scene that made sense in your head makes sense to no one else. The animatic shows that while a fix costs minutes, not weeks.
It’s also a negotiation tool. When the client or the producer asks what the film will look like, you show them. You don’t describe it. The conversation moves from “I think it’ll be good” to “cut this shot and move that one up.”
And it’s for you. The animatic is the first place where the film exists outside your head. It’s where you find out if the idea can hold the time it asks for.
What it needs
Four things. None of them is a beautiful drawing.
Simple drawings. The animatic has to be readable, not finished. Stick figures or geometric shapes. If you polish the drawing, you’ll spend your time defending the art instead of testing the story.
Duration. Every shot needs a defined time, even an estimate. The sum of those times tells you whether the film is one minute or three.
Sound. Temporary voice, sound effects, music. Sound changes how rhythm feels. A four-second shot with no sound feels long. With a breath, it passes.
Camera. What moves: the character or the camera. An arrow on the frame is enough. No 3D required.
How to make one, in six steps
1. Close the script
An animatic built on an open script guarantees rework. If the story still changes every day, the problem is upstream. Finish the structure and the ending first. Only then break it into shots.
2. Break it into shots
List the shots in order, one sentence each: what the camera sees and what changes. That list is the skeleton of the animatic. It’s where you notice repeated shots and scenes that don’t need to exist.
3. Draw the storyboard
One frame per shot, with the framing and the main action. No unnecessary detail. If the shot has a camera move, an arrow is enough. If it has two actions, it may be two shots.
4. Build it in the editor
Put the frames on the timeline in order and give each one its estimated duration. This is where the film starts to appear. Watch it from start to finish without stopping and note where you get distracted. Distraction is information.
5. Add sound
Temporary voice, even if it’s recorded on a phone. Sound effects that help the scene read. Music that sets the tone, if it helps. The goal isn’t audio quality. It’s testing the experience.
6. Show it to someone
Someone who doesn’t know the story. Don’t explain anything first. Write down their questions. Every question is a place where the animatic isn’t clear.
Three common mistakes
Animating before testing. This is the expensive one. People start with the shot they can already picture and find out halfway through that the scene didn’t work.
Leaving sound for the end. Without sound, you’re testing half the film. The rhythm you see on screen isn’t the rhythm the audience feels.
Polishing the drawing. An animatic that looks too good convinces through art and hides the story problem. The rough version is more honest.
How long it takes
It depends on the storyboard. Once the storyboard is ready, building a two-minute animatic takes days, not weeks. The long part comes before: closing the script and deciding the shots.
That’s why an animatic isn’t a way to postpone. It has a deadline like any other stage. If you spent two weeks adjusting one frame, you’re not making an animatic. You’re illustrating.
How to know it’s done
When someone who never heard the story understands what happens, without you explaining it. When the duration matches what you promised. When you know exactly what to cut if you need thirty seconds less.
There’s no set number of versions. There’s the moment you watch it and no longer want to change anything that matters.
Where this leads
This is the path I use in my own projects and the one I teach. On November 24, at 8 pm Brasília time, I’m teaching a free open class about it, from script to animatic.
If you want to go beyond the class, Turma 1 is the same path with deadlines, a group and feedback. Eight weeks to take a project from paper to animatic.